Still translating.
Preparation
Link:https://free.nodeloc.com(only support sign in with Nodeloc BBS account)
Nodeloc BBS offers a free VPS and hosting service, maintained by Nodeloc administrators during their free time. To obtain a stable host, you must be active in the forum to accumulate enough energy points (Nodeloc currency) to subscribe to the free service. How to get energy points? Check it out here! https://www.nodeloc.com/1-guide
You can switch your language with the help of the thing beside the search bar.
Here’s the information about requirements, limitaions and configuration.
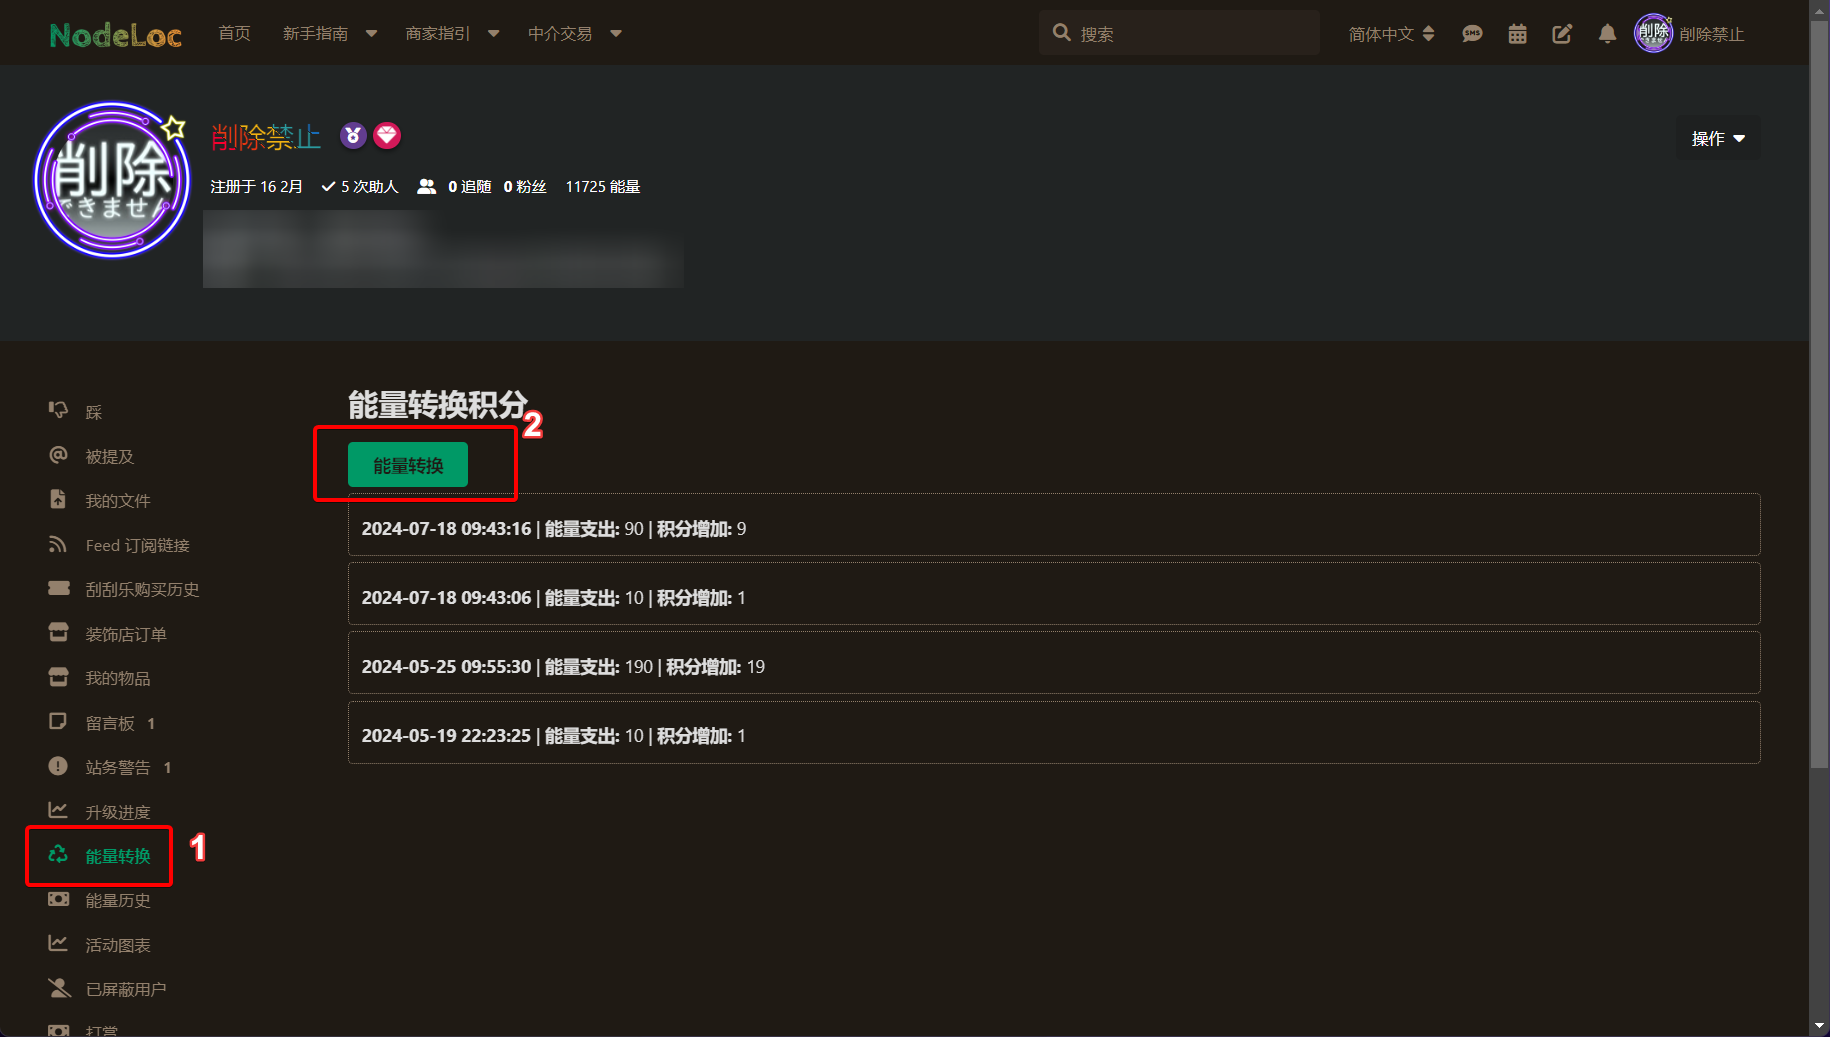
After obtaining enough amount of energy points, you can exchange energy points for credits which are used in Free Nodeloc system(1 credits=10 energy points). To do this click the avatar in the top right corner and tap ‘Profile’ . Find ‘Exchange’, click it and then tap the green button. Then you can enter the credits you would like to have.
Before the next step, I will put the information of the hosts and VPSs below so it will be more intuitive.
| Provider(Region) | NiiHost(HK) | ZLIDC(KR) | XiaojiHost(HK) |
|---|
| Bandwidth(GB per Month) | 1000 | 100 | 100 |
| Database Storage(MB) | 100 | 100 | 100 |
| Website Storage(GB) | 1 | 1 | 1 |
| Price(Credits per Month) | 10 | 10 | 10 |
| VPS Type | HZ Finland Mini | HZ Finland Medium | HZ Finland Large |
|---|
| CPU Cores & Memory Size | 1C1G | 2C2G | 4C4G |
| Hard Disk Storage & Type | 20G NVME SSD | 50G NVME SSD | 100G NVME SSD |
| Price(Credits per Month) | 100 | 200 | 500 |
The next step will use the link at the beginning.
There’s a login button in the top right corner will direct you to the login page(https://freenodeloc.com/login).
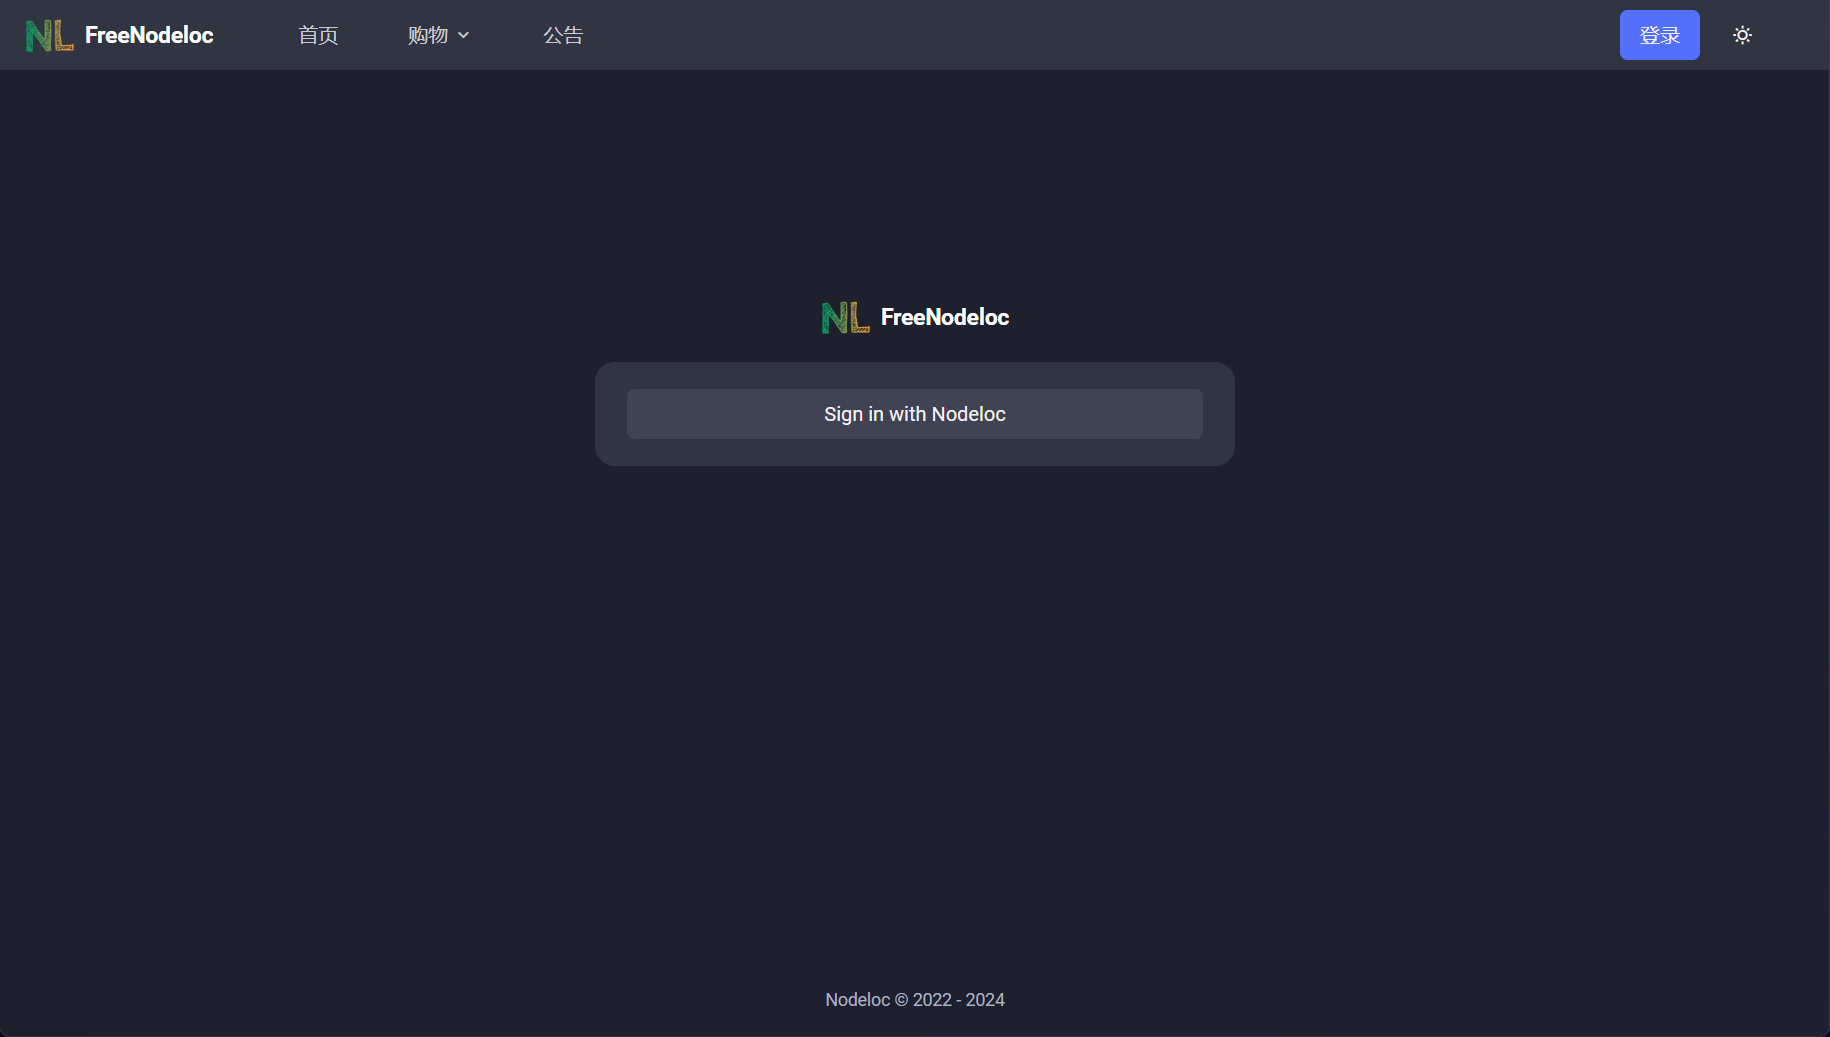
Click ‘Sign in with Nodeloc’ and then you will enter the authorization page.
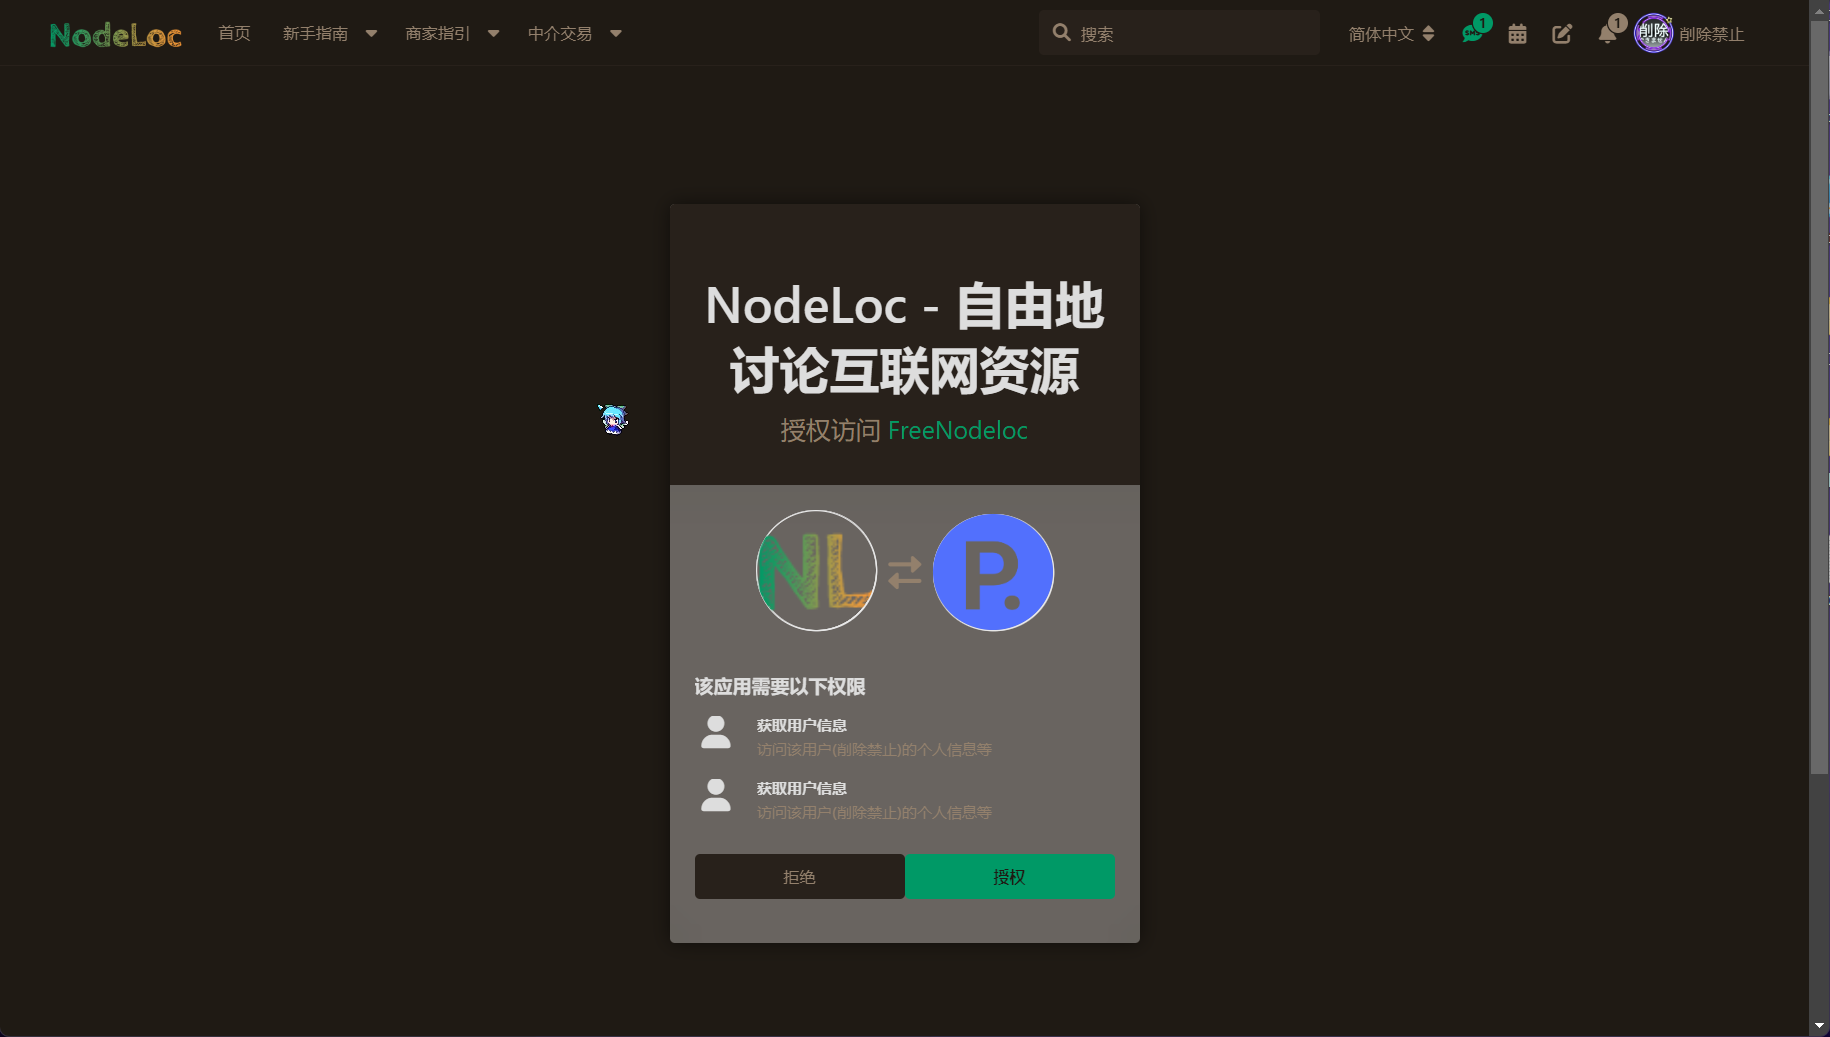
Click 授权(authorize in Chinese), afterward you can log into your account.
Pick the One You Like
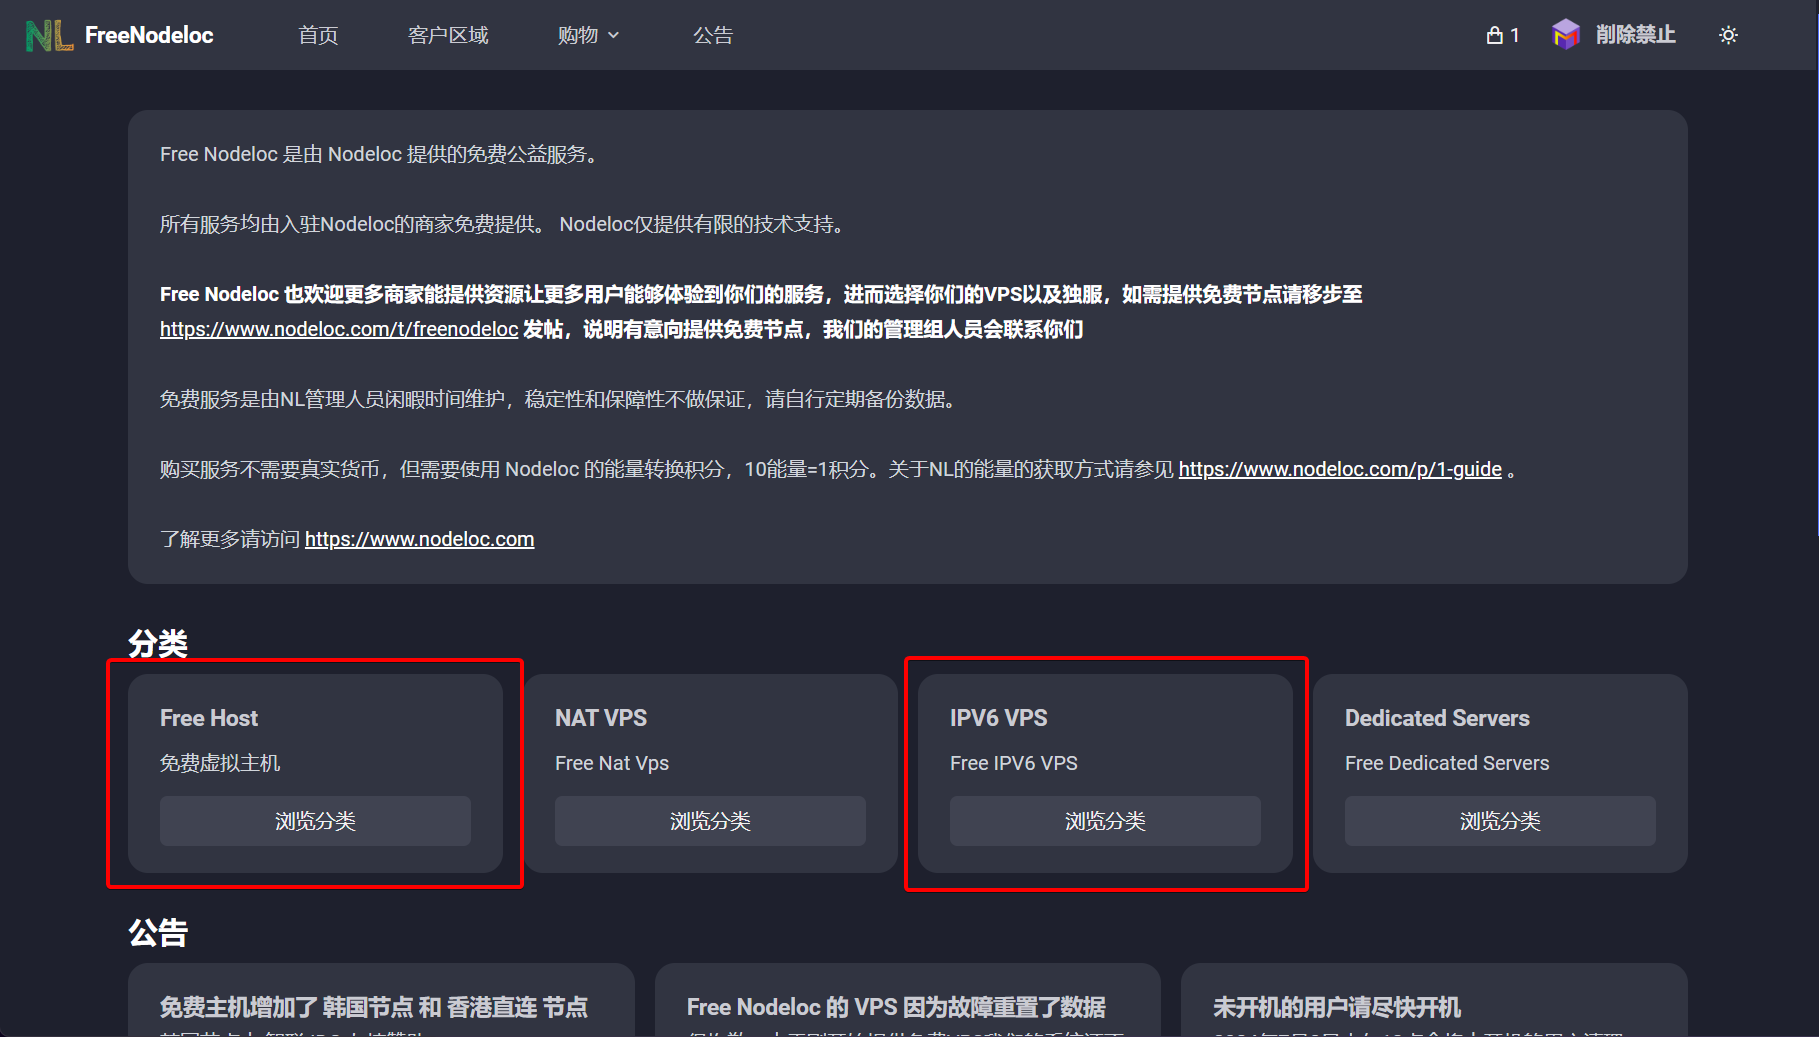
Those outlined in red are in stock.
Free Host Subscription & Usage
Pick the one you like and add it to cart.
Before it is actually added, you have to input a exist formatted domain name. As shown in the picture. Next you can continue to checkout.
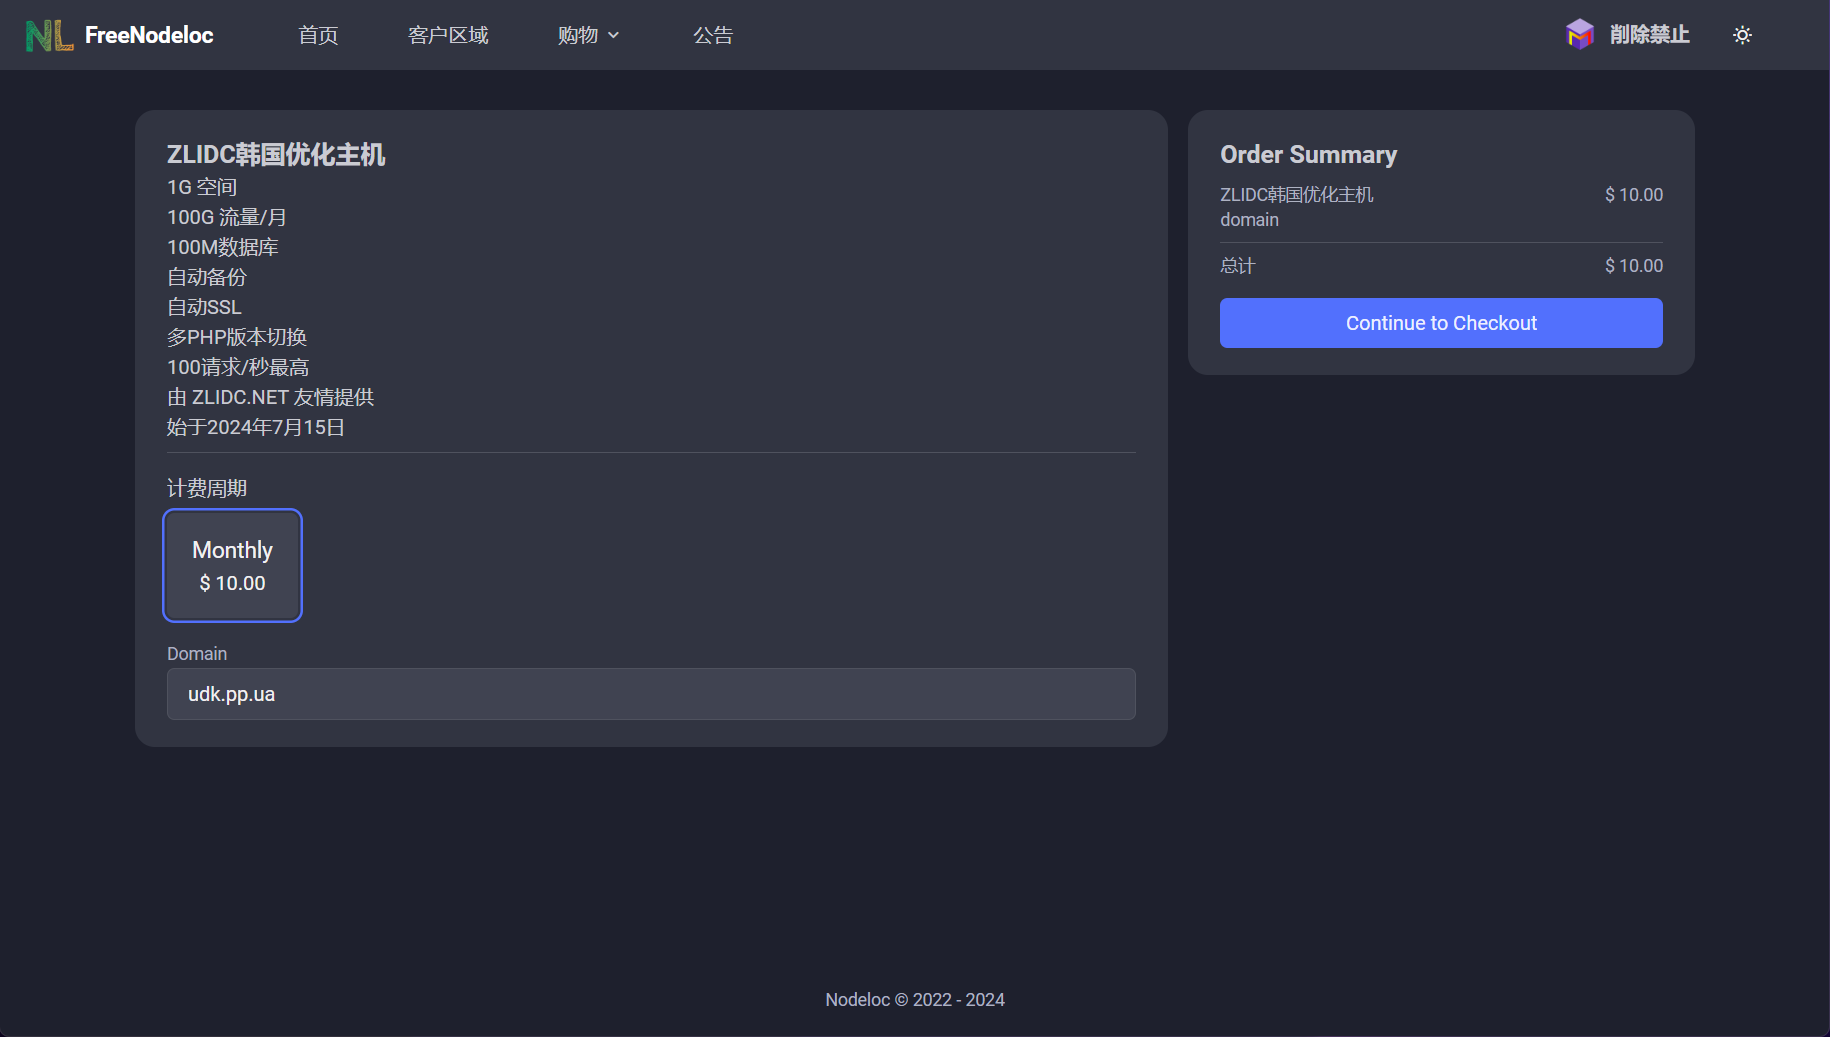 This picture is for explanation only, because I already add a Xiaoji Host.
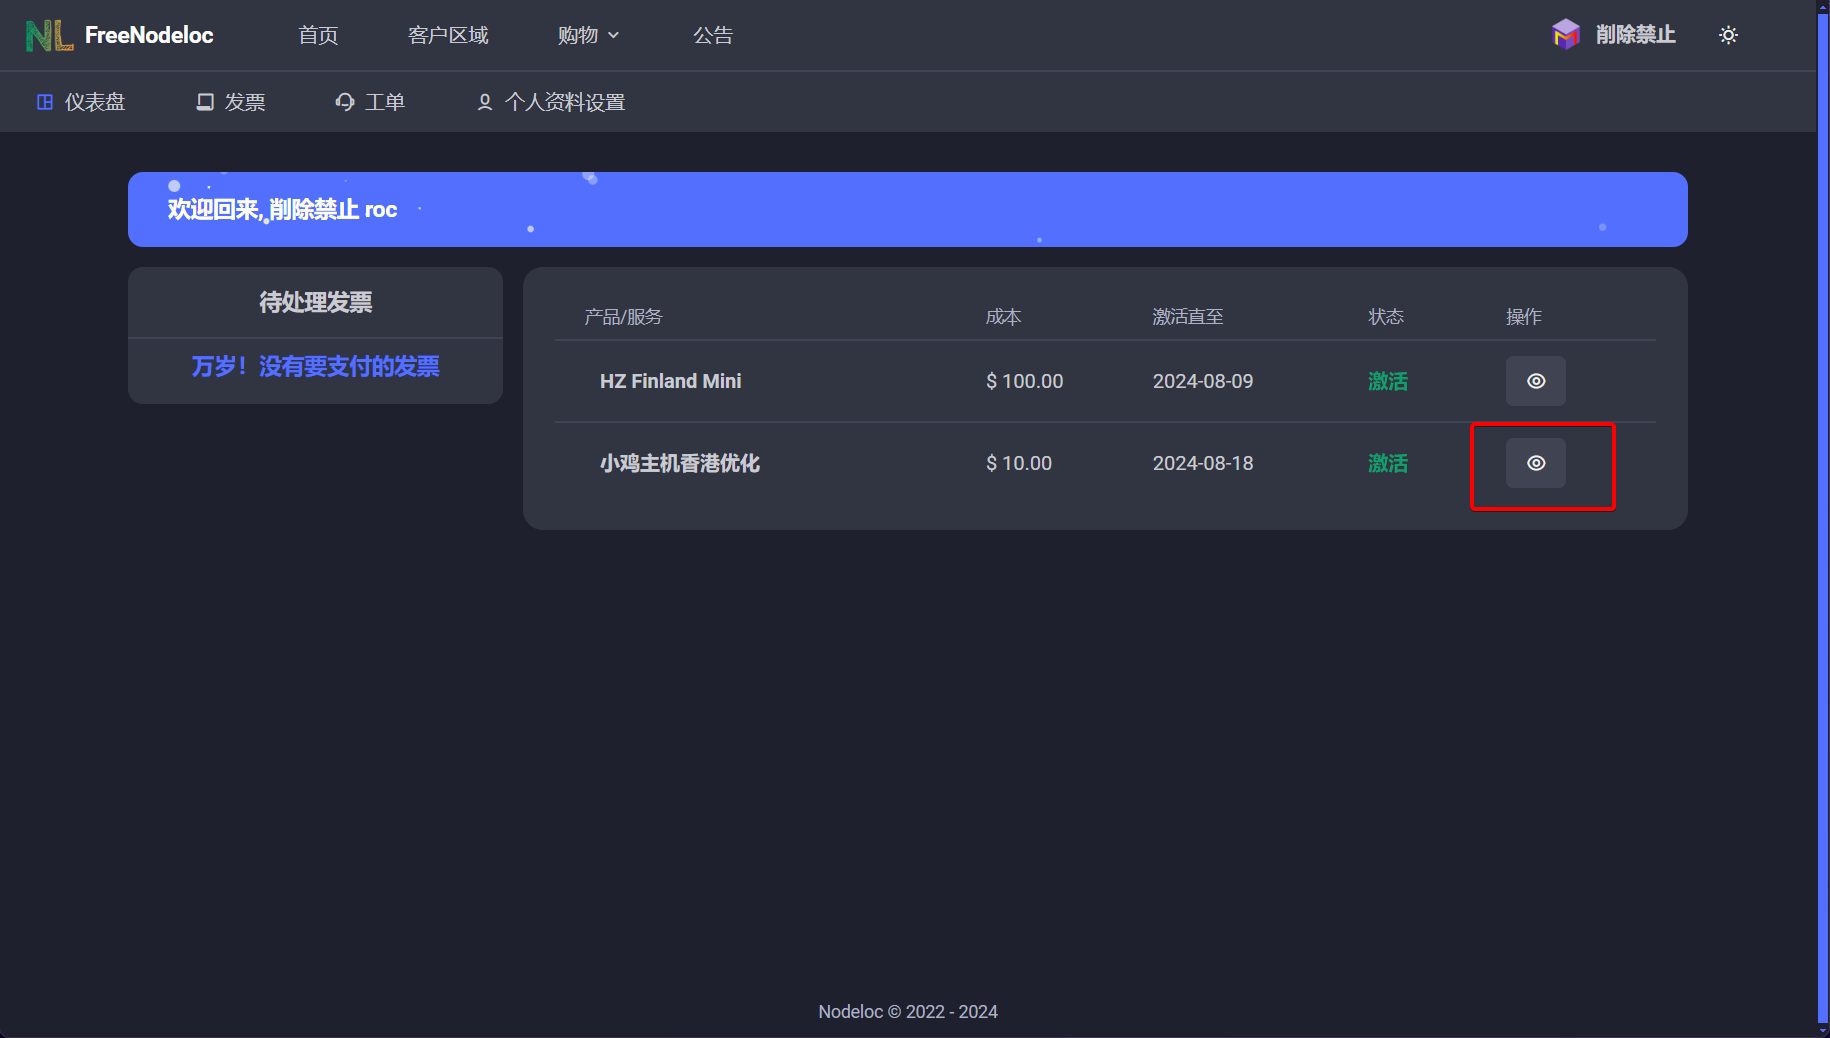
点击顶栏的”客户区域“,找到刚刚订阅的主机,点击”一只眼“的操作按钮。如图。
根据底部提供的信息登录。
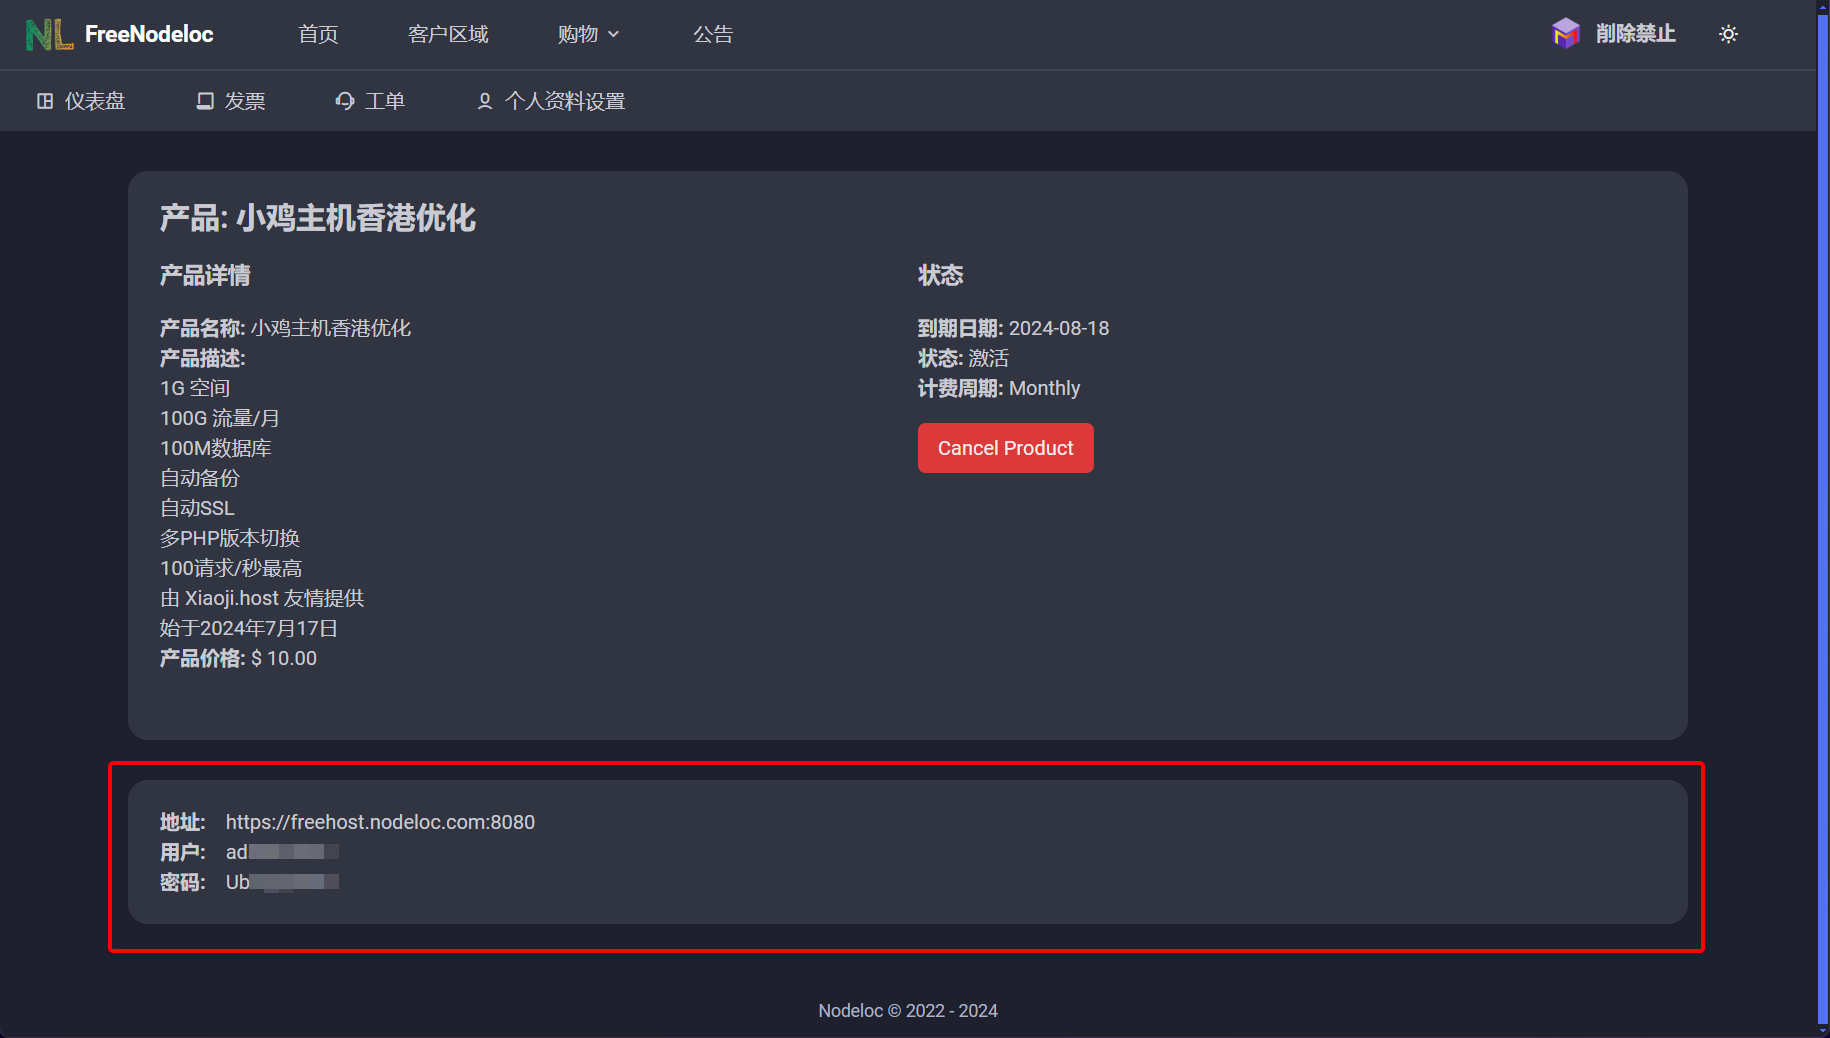
大功告成。
利用这些信息成功登录面板后界面如下。
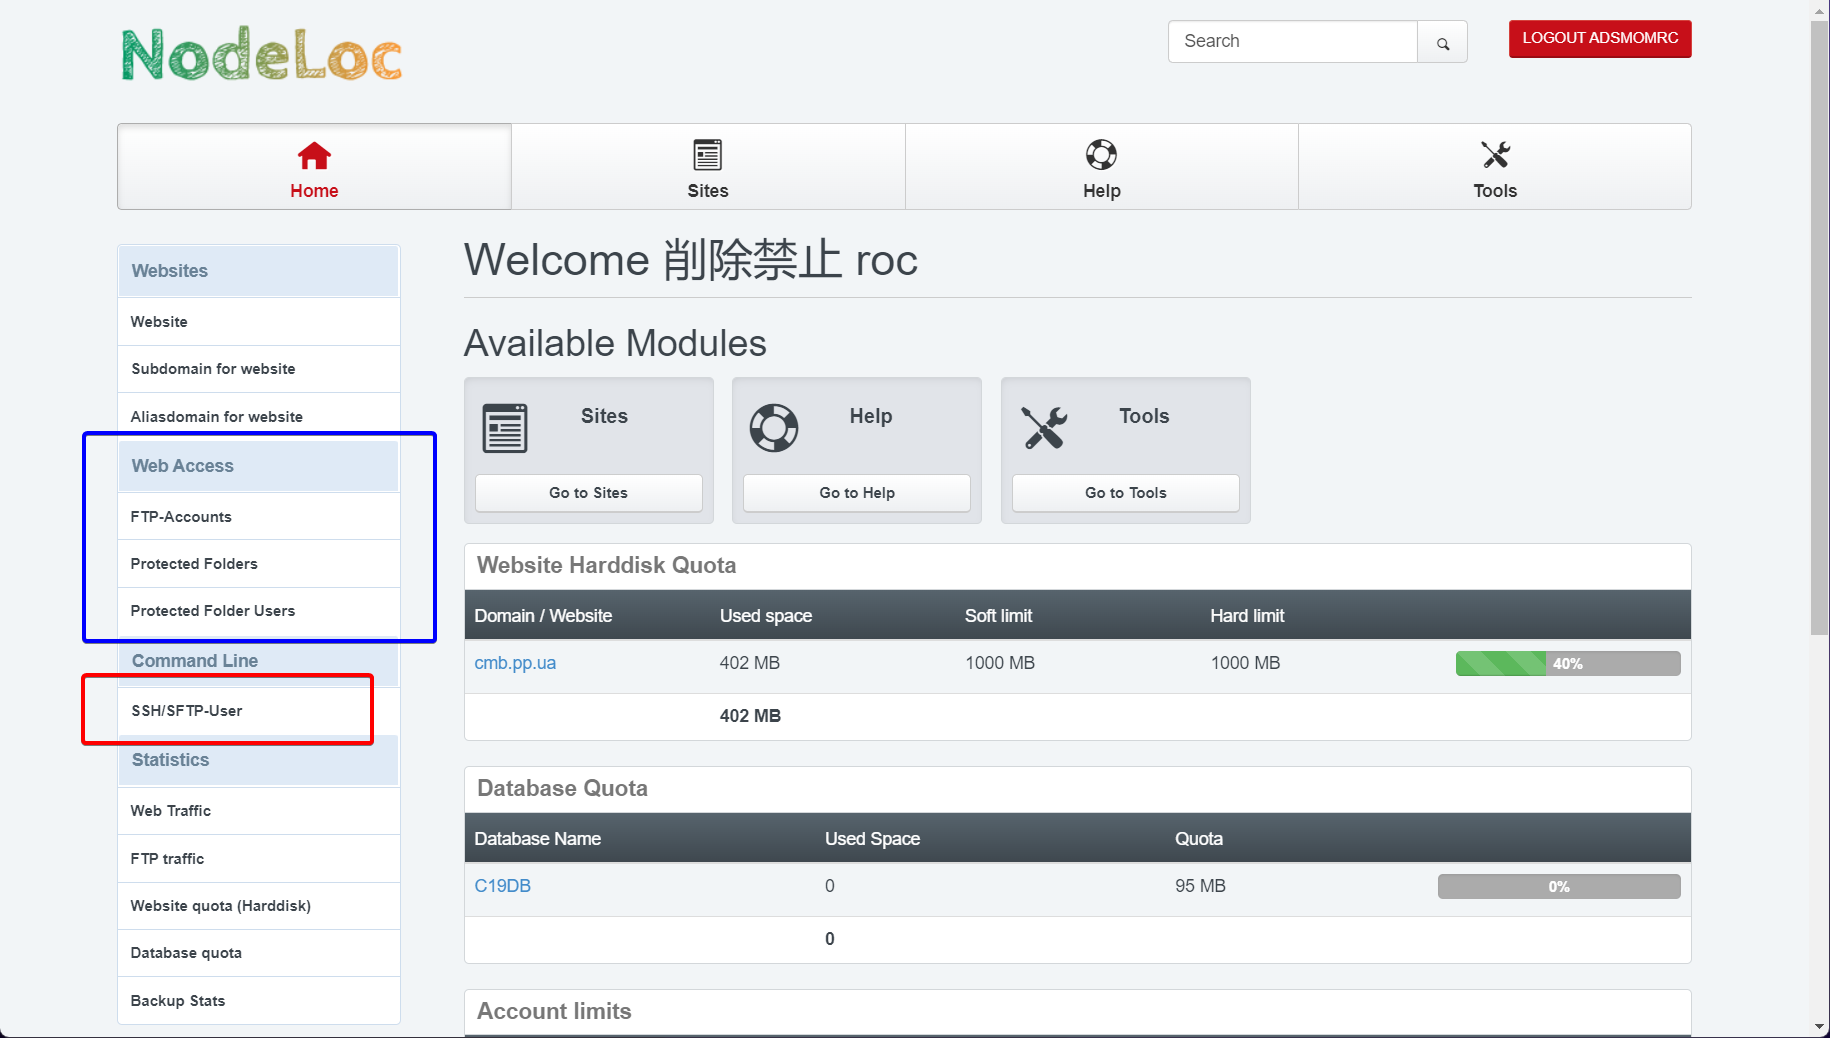
蓝色框内的,是默认可用的变更目录下默认内容的方式;红色框内的,需要达到一定活跃程度才能获取。
可以尝试通过一些软件操作FTP,Windows默认的感觉很拉跨,不建议使用。
域名正常访问需要添加cname/alias记录。可以在该页面顶栏中点击Sites,方可看到需要别名到的主机名,比如小鸡的主机是xiaojihost.nodeloc.com 。
IPV6 VPS订阅及使用
和订阅Free Host差不多,不用填写域名。订购这一步跳过。
订阅后,到”客户区域“找到自己的IPV6 VPS,进入查看详细信息。可以看到,现在还是没有分配的状态,需要先点击”Login to control panel“,登录控制面板。
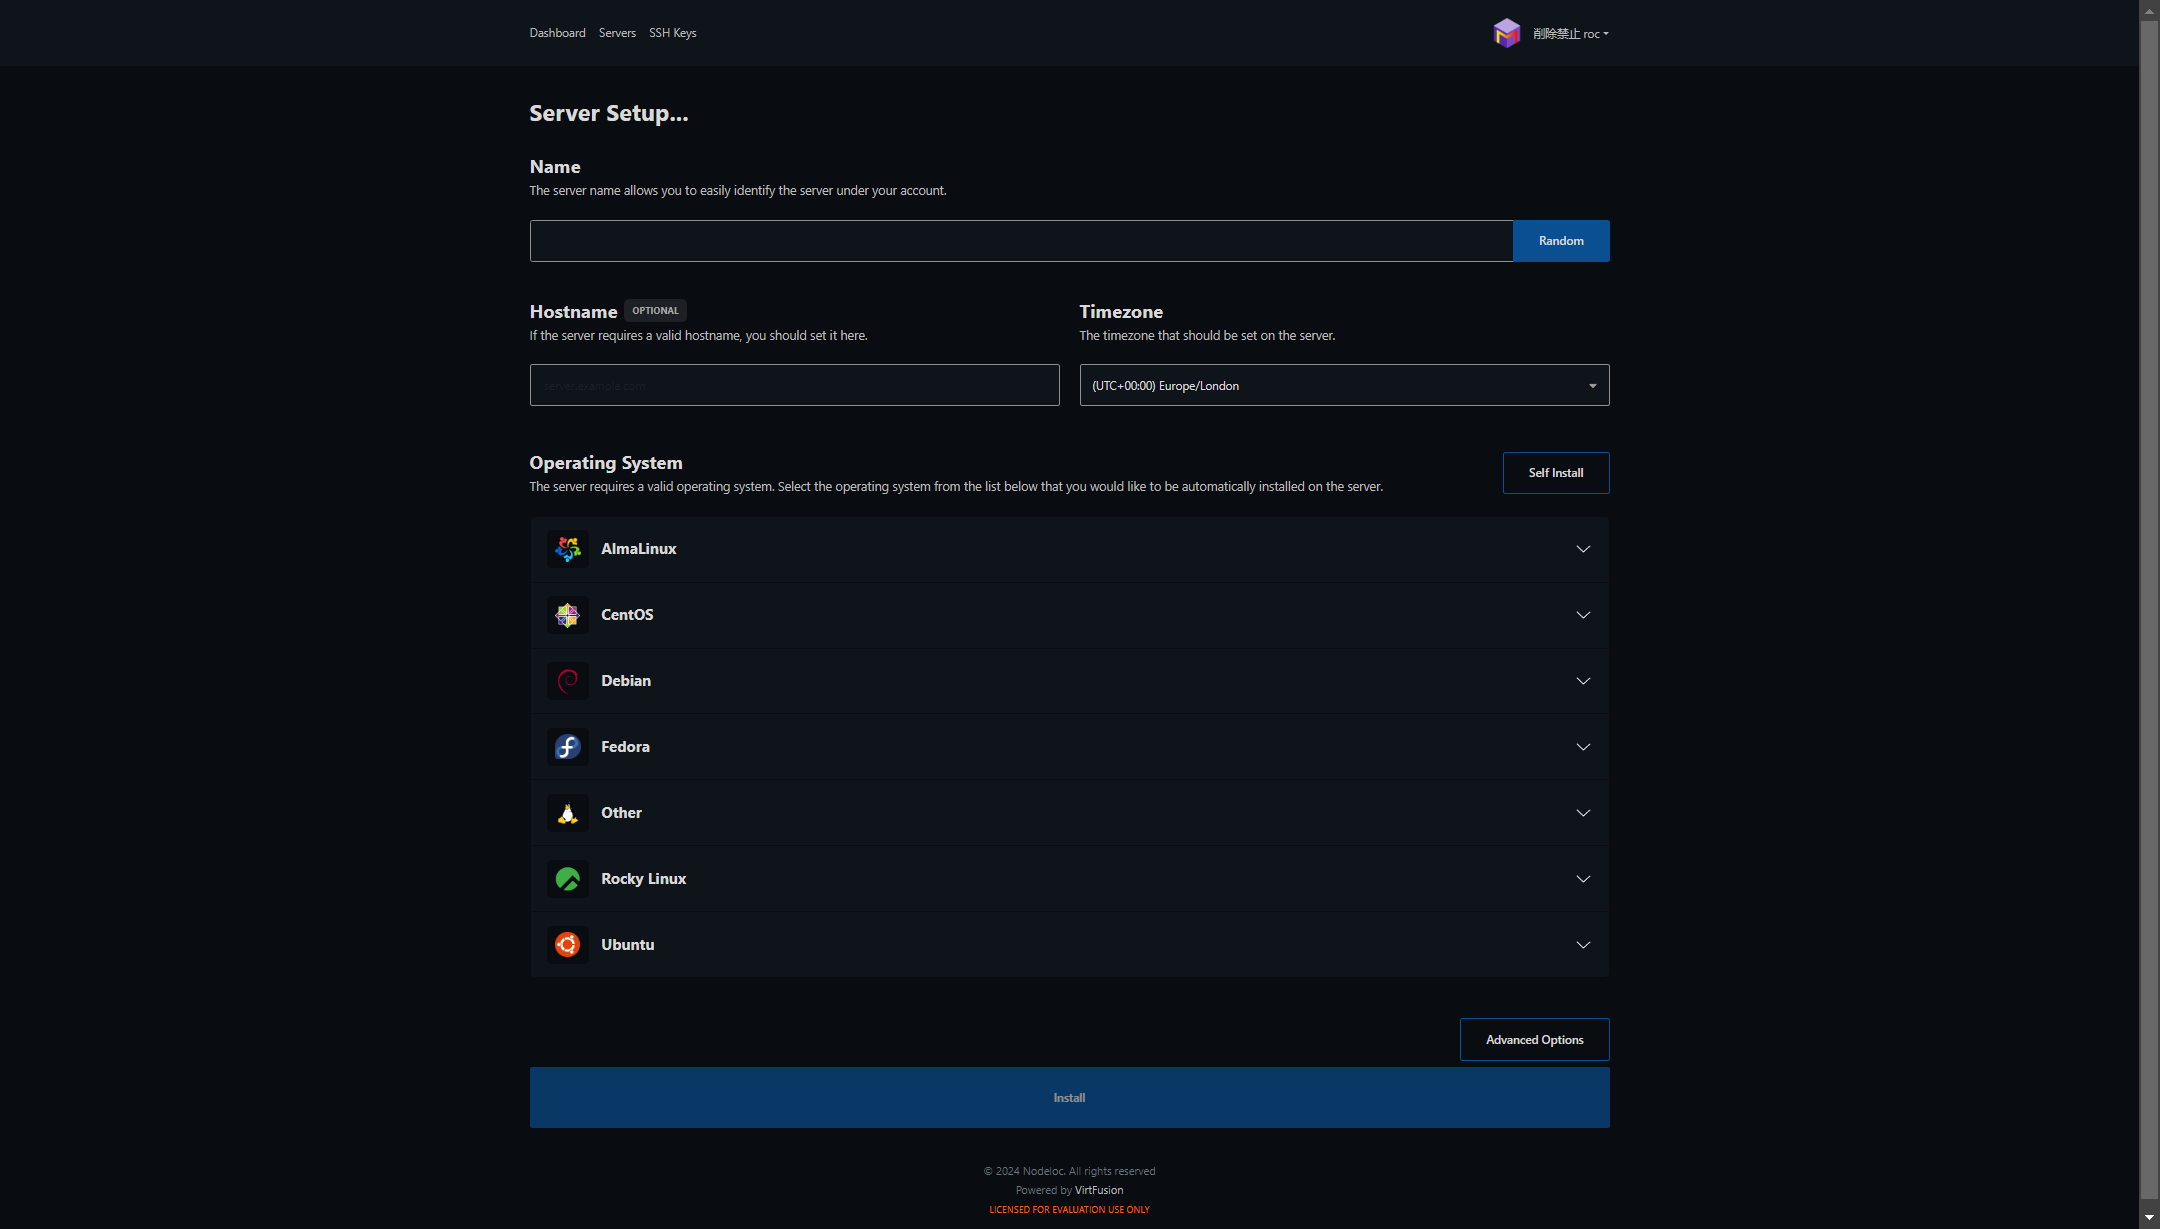
Name是为了区分主机
Hostname是可选的,如果填了就填自己的域名。
Timezone就选东八区(UTC +08:00)
操作系统自己看需求,我选了Debian 12。
选择完操作系统之后,他会提示你创建一个密钥对。操作如下。
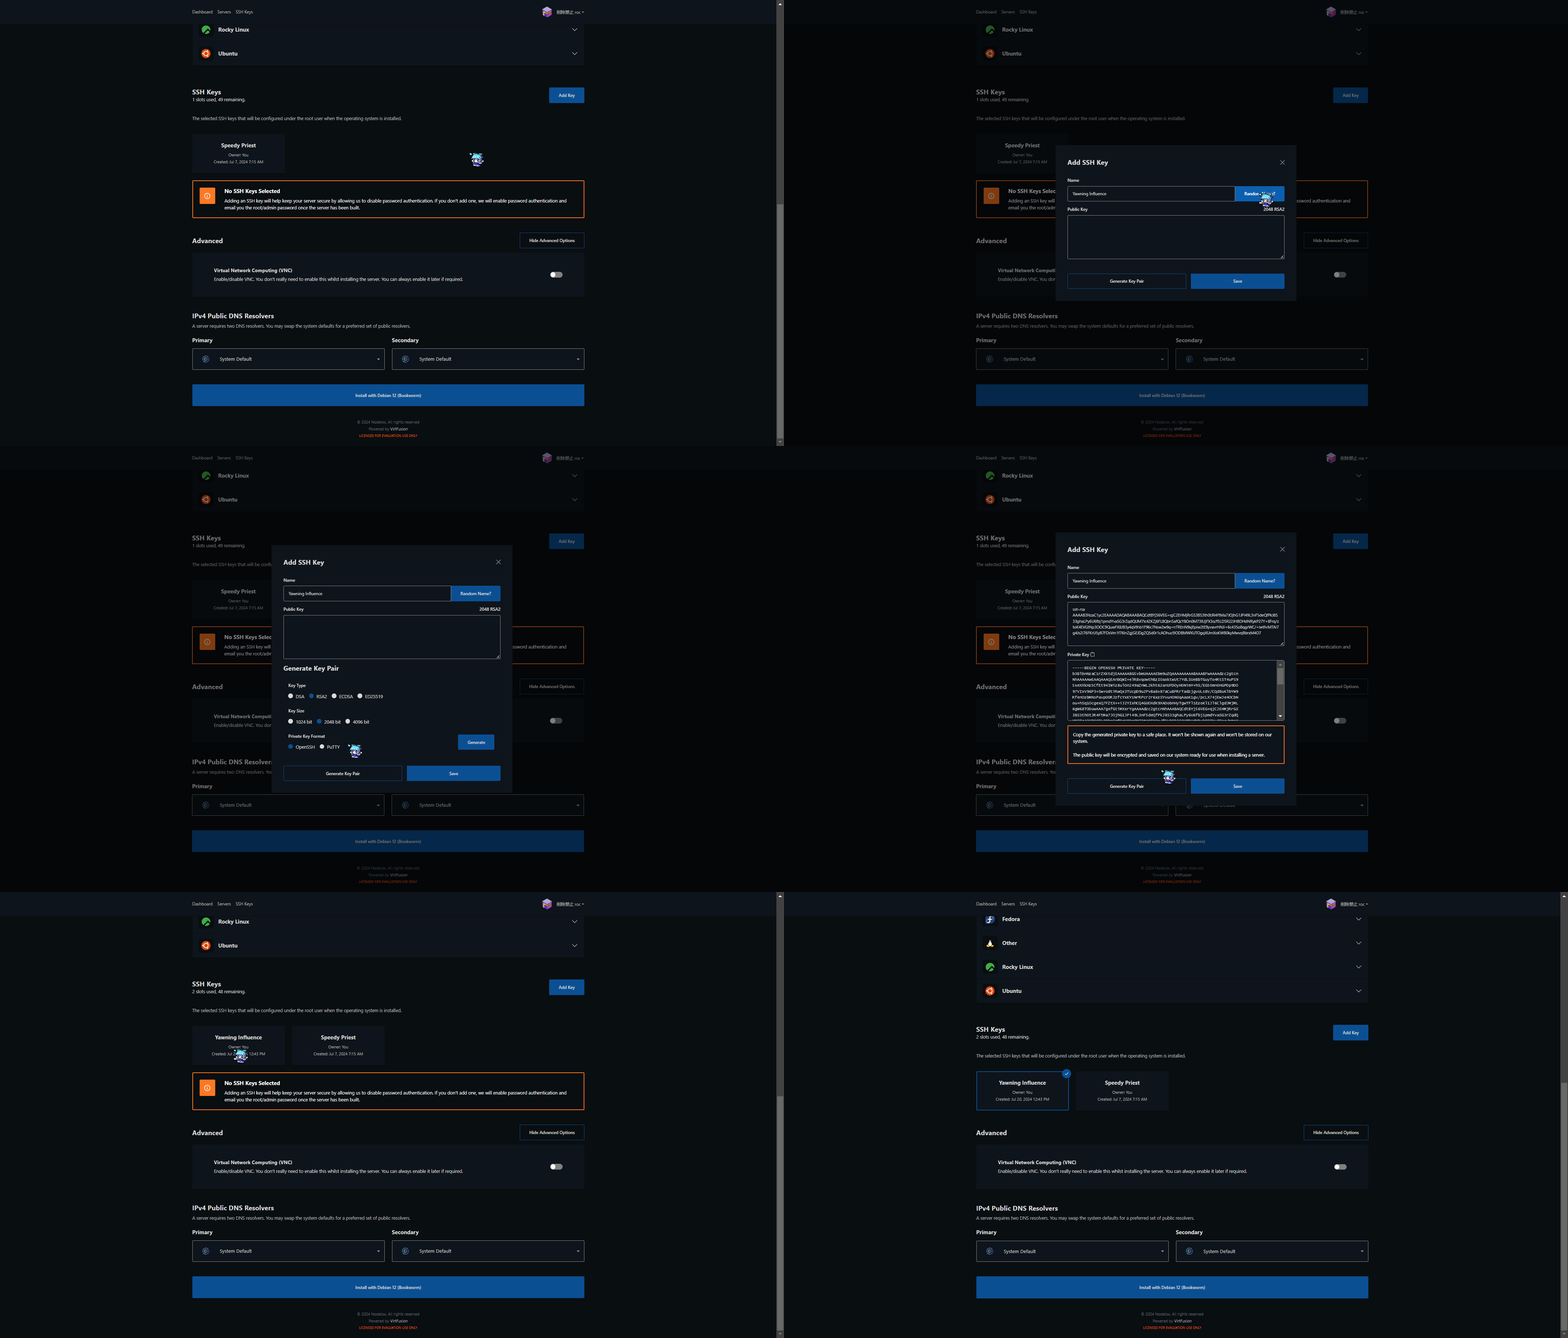
视频中漏了一步,也是最重要的一步:把密钥妥善保管。
Advance Options中有,开启VNC网络。建议开启,要是小机失联了,可以尝试使用VNC网络控制机器。
点击”Install with xxxxx“,再确认一下就行了。稍等片刻,便可完成安装。
最后的最后,你就可以看到ip地址了。使用ssh指令进行连接时,记得带上密钥在本地的地址,ipv6外面记得加上方括号!格式如此:ssh -i 私钥路径 登录用户@[你的ipv6地址]
VNC默认是不启动的,需要在控制面板的顶栏中,打开option,找到VNC点击Enable。照做的话,他会给你VNC所需的相关信息。
“[]”一定不能漏
本站站长 @James 曾说,之后他会为老用户提供免费的(需要能量)独立服务器。建议大家多发一些精华主题,这样就能获得永久免费的主机了。